I recently put together a cover for Big Dumb Fighting Idiots, anticipating the eventual need for printing as we enter the final chunk of the story. Thus, I decided to document the process to show how I did it from beginning to end. While this is by no means the ultimate way to make a cover, it should serve as a nice overview of the way I work on this kind of stuff.
Step 1: Coming up With the Idea
Before you begin on a cover you should have a rough idea of the kind of layout you want. It needs to be something you could see standing out on a shelf. Even if it’s never going to make it to a shelf, just think about what might make you want to pick a comic up from the crowd. Naturally, the idea for this one came to me right as I was trying to go to sleep, so I grabbed my phone and jotted down some quick notes.
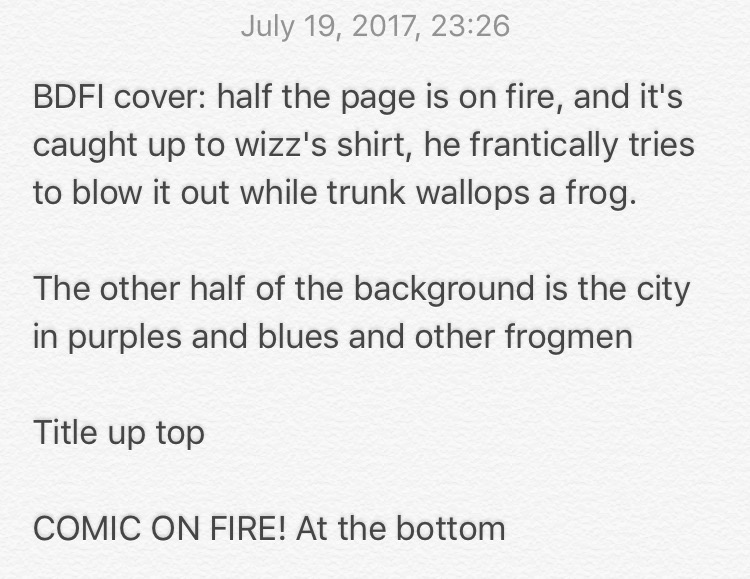
Most of this ended up making it to the final cover! All except for that COMIC ON FIRE text at the bottom, which mostly sounded like a cool idea at 11:36pm.
Step 2: Logo Work
Since I just post BDFI on this website, I rarely have need for a logo. I find it really difficult to come up with cool logos, but thankfully I still like the one I made way back when I first drew these characters. Here’s a flashback to that original drawing:

I still had the logo sitting around somewhere, so I dug it up and scanned it in like so:

I set this file aside for…
Step 3: Digital Sketch
I think I’ve mentioned it before, but I use Clip Studio Paint, AKA Manga Studio, for everything. It’s a great program for comics—even in the case of the cheaper version, which is just about $50 when it’s not on sale—and it doesn’t take long to learn. My only major complaint: it isn’t primed for printing. Clip Studio only produces images in RGB, which is great for online. It doesn’t output in CMYK, though, so if you want to print anything color from the program you’ll want to tweak it in a program like PhotoShop first.
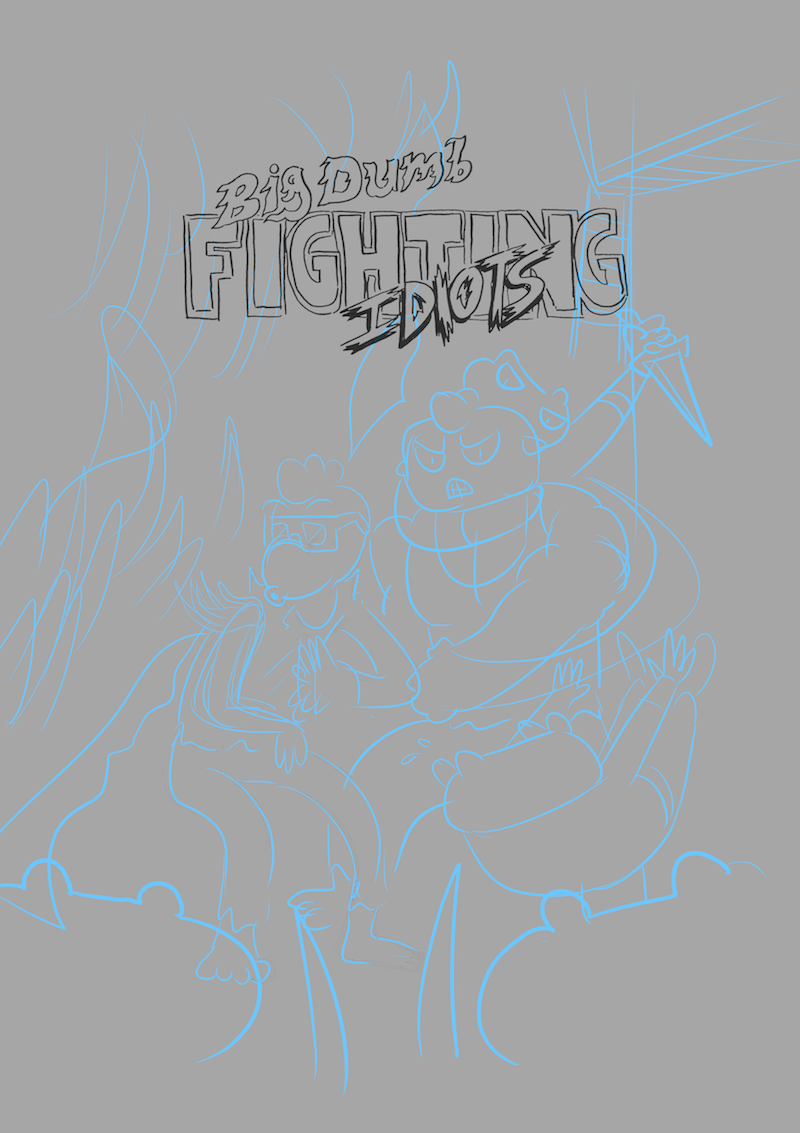
I always see people setting their backgrounds to grayscale when sketching, but I never understood why. Well, I do now! After reading up on it some and trying it myself, it made it much easier to get in a nice blue-lined sketch to ink over, and gave me a more reliable view of the page’s overall space. Here’s how it looked once I worked out a rough sketch and dropped in/cleaned up the logo:
Step 4: Inking & Layering
Alright, this part is going to involve me trying to break bad habits. While inking on a separate layer, I basically had to force myself to start titling said layers. I knew this would end up having quite a few—especially considering the effects I had in mind—so I went against my typical lazy instinct and employed a simple naming convention for each. It probably sounds like a no-brainer for some of you, but I have a horrible tendency to end up with 45+ layers all named “Layer 16,” Layer 38,” and so on, which means I have to click them off and on just to make sure I’m on the right one.

Step 5: Final Inks & Background Work
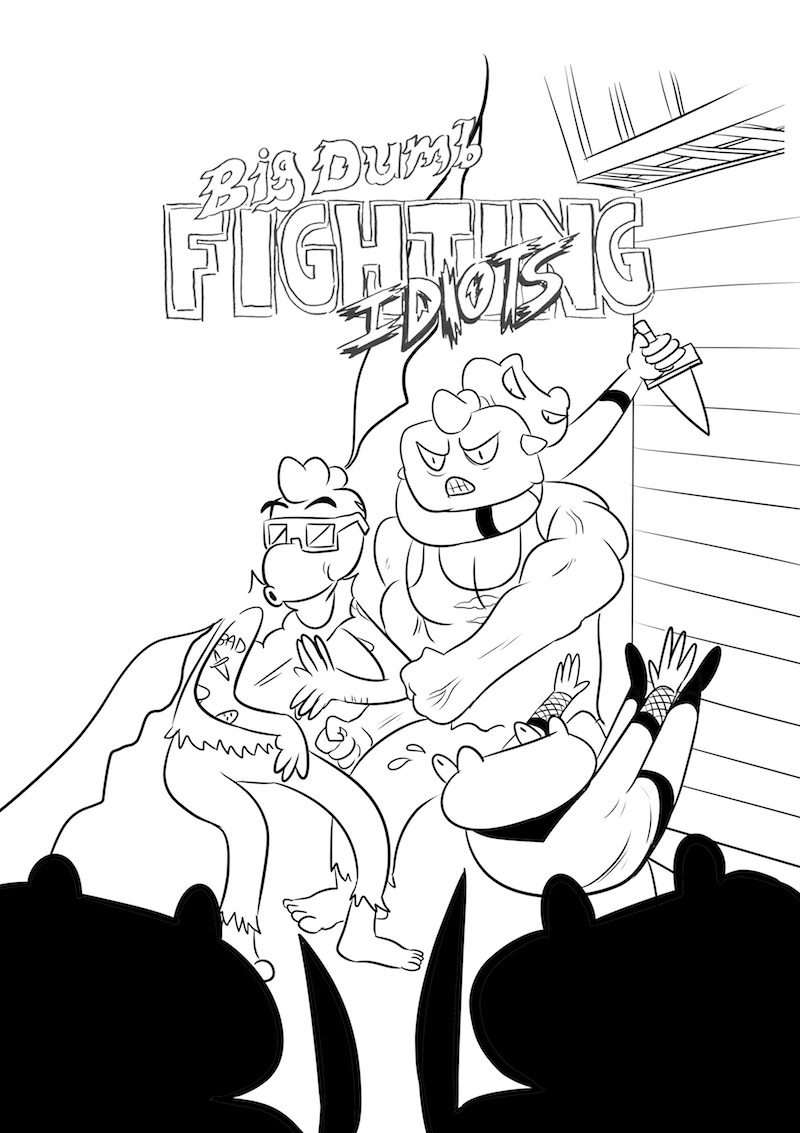
I laid the rest of the inks down until I was able to remove the sketch from the equation and start working on the background. Most of the background is going to be color-based and not dependent on ink outlines, so it’s pretty simplistic at this point.
Step 6: Flame Effects Time
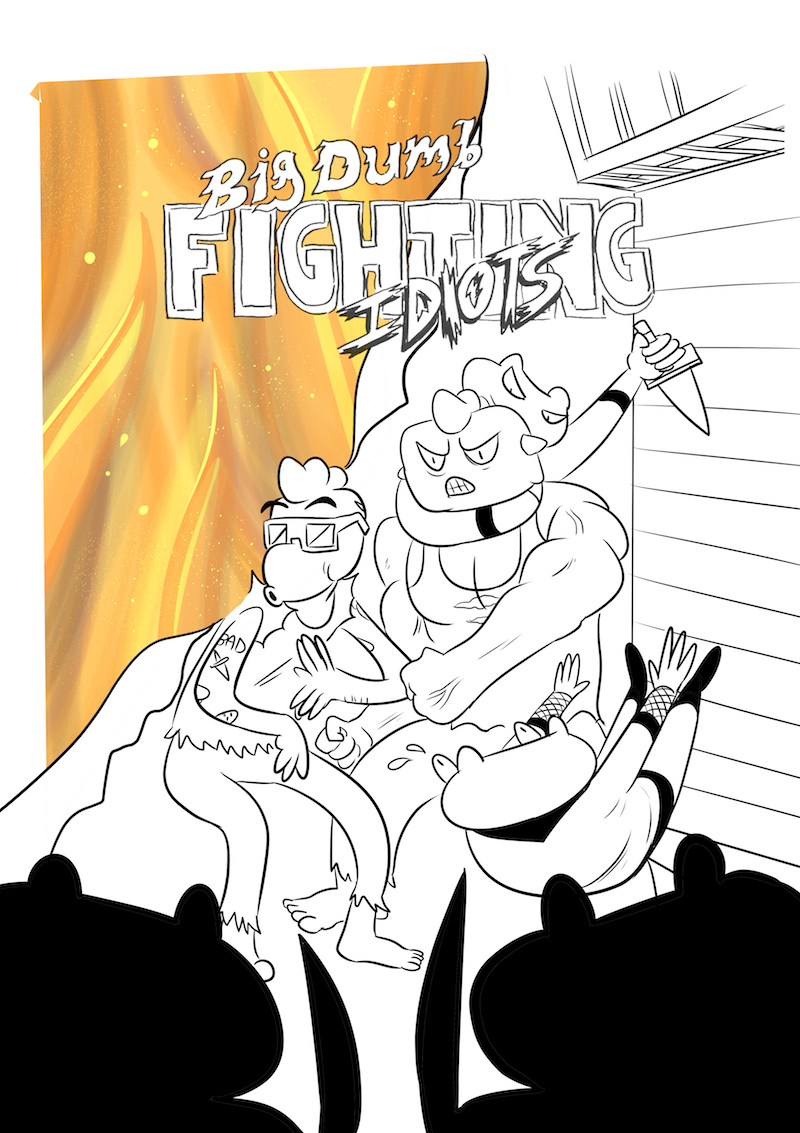
This was the biggest challenge I gave myself from the concept stage. The idea alone kind of made me hate Past Joe, but I have a hard rule of at least attempting everything I tell myself to draw. If I have the confidence to put it in an outline or in a set of thumbnails, I can work out a way to bring it to life. The fire effects ripping away at the page ended up being a combination of multiple brushes, primarily the Colored Pencil brush and the standard G-Pen I use for almost everything else. I basically played with it until I liked the way it looked, and topped it off with some spray from one of the Airbrush sub-tools.
Step 7: Character Flats
Flat colors were up next! This step is pretty straightforward. I just made a layer right under the inks to color in Trunk, Wizz, and the pair of Frogmen surrounding them. I use the G-Pen tool for pretty much all my coloring, and while I change character tones a lot in the comic, I went with the classic hues for our heroes.
Step 8: Logo Colors
I actually ended up changing this a few times throughout the process, because it’s tough to tell what really works until you have the entire image together. The colors I started out with were a little garish, but they worked fine as a placeholder until I figured it out. Like the composition itself, the logo has a split second to draw someone’s attention, but you don’t want to go overboard.

Step 9: Background Colors
Sometimes I find backgrounds intimidating. I wasn’t 100% sure what I was going to do with this one, but it started to come together once I filled in the brick wall and added a few lighting effects to that and the fire escape. When I popped in the night sky and stars the trick to filling in the background Frogmen was clear, so I worked in some shadows, added a few glowing eyes, and made detail marks on the concrete for good measure.

Step 10: Shading Wrap-Up
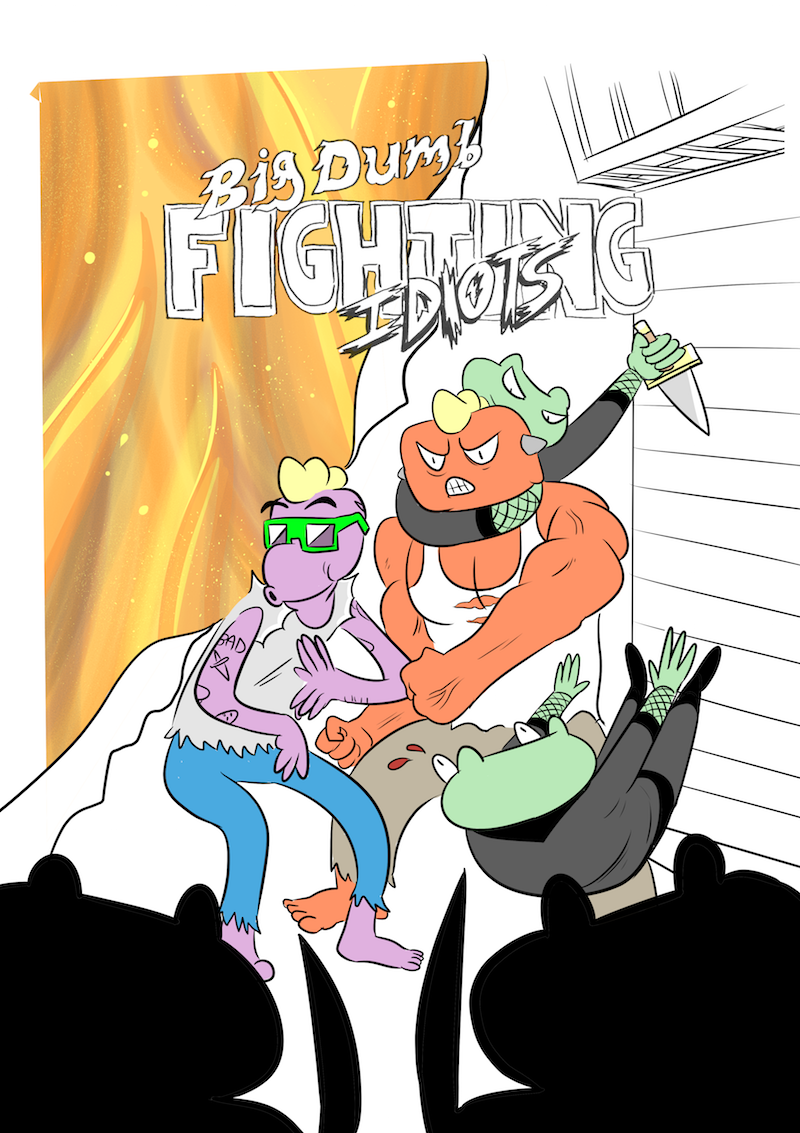
I always save shading for last. Not just because it’s a good final detail, but because I’ll occasionally look at a drawing or panel and decide it doesn’t need shading at the last minute. This is a cover, though, so of course it needed some good shadows! There’s also the matter of the fire, which I still had to add on Wizz’s shoulder as he feverishly attempts to blow and wave it out. That brings us to the final version of the cover below!

Odds of me finding a mistake I made or seeing something I need to change: HIGH. For now, though, I’m happy with it.
To recap:
Step 1: Coming up With the Idea
Step 2: Logo Work
Step 3: Digital Sketch (or physical if you’re on paper)
Step 4: Inking & Layering
Step 5: Final Inks & Background Work
Step 6: Flame Effects Time
Step 7: Character Flats
Step 8: Logo Colors
Step 9: Background Colors
Step 10: Shading Wrap-Up
